The kitchen floor to be specific.
First, we screwed the cement board down to the plywood. This helped removed any bounce from the current plywood floor and prepared the floor for the mortar AND created an additional water barrier.

Then, came the mixing of the mortar. I'm a good cement mixer. {Insert Italian joke here} I say it's because I'm a good baker.


5 minutes of mixing. Water, cement, water, cement, mix, mix, stir, stir.

The instructions say to wait 5 to 10 minutes after initial mixing.

Walt Kowalski said 'You know what you can do in 5 to 10 minutes?'

'Don't take my picture!' Walt Kowalski said. 'Fine. I will wear my pencil mustache disguise. Nobody will know it's me.' He cracks me up.
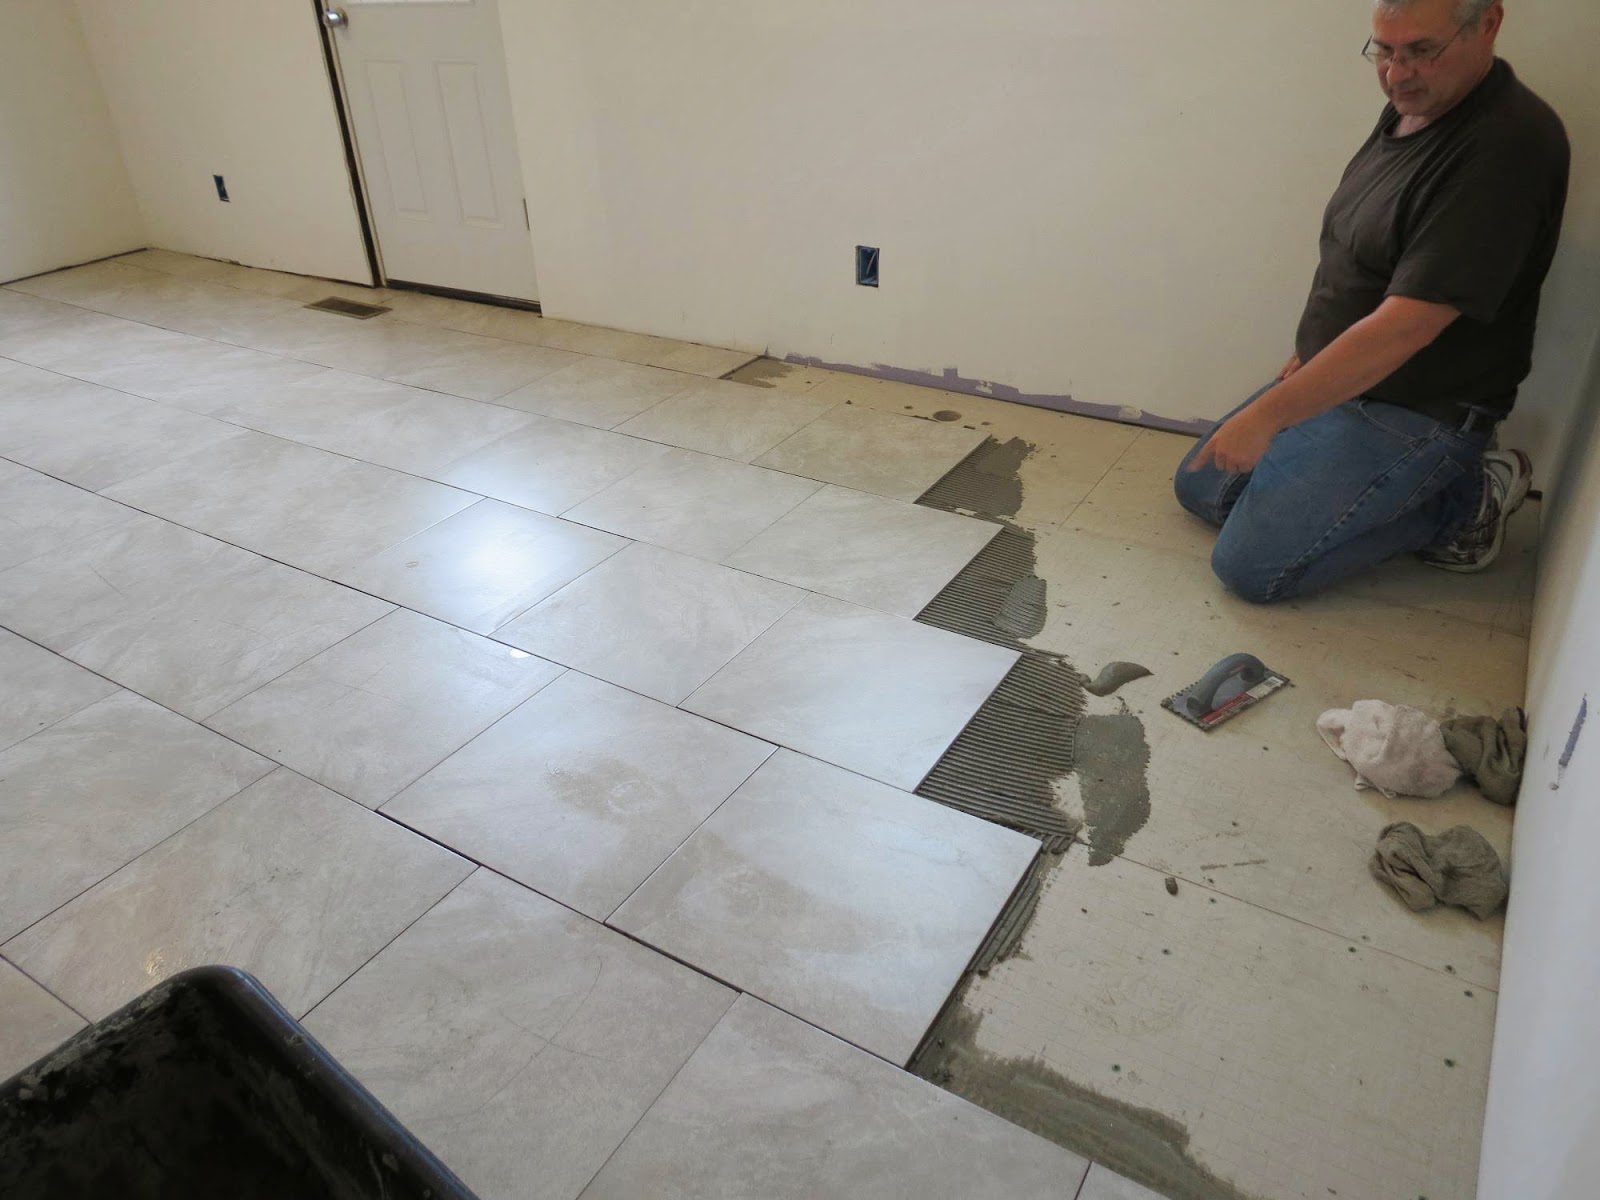
The pencil mustache is also a thinking position as needed.

The placement of the first tile requires a LOT of thinking and measuring.
Where do we want to start the first full tile?
Where do we want to start the first full row of tile?
Where will the last cut tile end?
Where do we want the last cut tile to end? Here? Or here?
What if we adjust this way a bit?
What if we adjust that way a bit?
Big grout line? Little grout line? No grout line?
Where is the flow of traffic?
Where are the cabinets? Where is the door?
Things we have planned and talked about numerous times. Now it was crunch time.
We got a plan and the first row installed. I mix and smooth the mortar onto the floor, Walt Kowalski uses the concrete trowel (not to be confused with a gardening trowel) to scrape off the excess and get the proper depth.
We decided on the tiniest grout lines and to alternate the tile pattern in a brick formation so the grout lines are not straight or stacked. This way we hope to disguise the crookedness of the house. I already marked the center of the tiles and Walt Kowalski places the tile in the mortar. We do make a good team.


That was the end of day one. We started at the front of the kitchen, at the breakfast nook by wall divider between the nook and the living room. We knew saw we were going to "paint" ourselves into a corner, so we planned ahead and put a ladder at the back door. This way if we couldn't jump over the finished tile to leave, we would have an escape hatch.
Near the end of Day Two a momentary problem appeared. The tile were 18 inch by 18 inches, but measured size of 17 5/8 inches by 17 5/8 inches square. One box of tile was actually 17 1/2 inches by 17 1/2 inches. An 1/8 of an inch doesn't seem like much, but it created a larger grout line where we did not want a larger grout line. Luckily we realized this sooner rather than later and were able to adjust.
We will adjust for this in the laundry and bathroom. Actually, I'll just measure ALL of the tiles before we start.
We stopped here at the end of day two for several reasons:

1. We couldn't do any more without walking on the recently installed tile.
2. We were out of mixed mortar.
3. We were tired.
Walt Kowalski spent the day on his knees, but I needed to be more mobile to bring mortar and tile as needed. Instead, I spent the day in Downward Facing Dog position.
This is the Downward Facing Dog position of yoga for those who are not familiar:

Needless to say, my quads and calves are strong and tired after several days in this position.
But with all hard work comes the reward...

A Dilly Bar. J
No comments :
Post a Comment